安裝Nvidia官方新版驅動程式
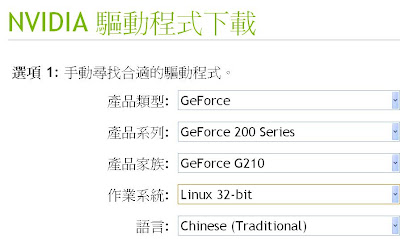
- 請先去Nvidia官網下載你的驅動程式
- 我 的裝的是NVIDIAXXXX.run最新版,名字太長了我改成 nvidia.run並放到~/ (家目錄)下面
- 要賦予nvidia.run執行權限才能安裝哦
- 移除nvidia舊版並移除舊的設定檔
- sudo apt-get --purge remove nvidia-*
- 安裝編譯所需套件與核心
- sudo apt-get install build-essential libc6-dev pkg-config xserver-xorg-dev linux-headers-$(uname -r) nvidia-settings gcc
- 請按Ctrl+Alt+F1進入文字終端機
- 中斷X windows才能正確安裝顯示卡驅動程式
- sudo /etc/init.d/gdm stop
- 開始安裝nvidia官方版驅動程式
- sudo sh ~/nvidia.run
- 接著就進入了Nvidia的授權頁,第一個選accept同意他的授權聲明 按tab鍵可移動
- There appears to already be a driver installed on your system (version: 173.14.12). As part of installing this driver (version: 173.14.12), the existing driver will be uninstalled. Are you sure you want to continue? ('no' will abort installation) (Answer: Yes)
- No precompiled kernel interface was found to match your kernel; would you like the installer to attempt to download a kernel interface for your kernel from the NVIDIA ftp site (ftp://download.nvidia.com)? (Answer: No)
- Install NVIDIA's 32-bit compatibility OpenGL libraries? (Answer: No)此項只有amd64版本才會出現
- Would you like to run the nvidia-xconfig utility to automatically update your X configuration file so that the NVIDIA X driver will be used when you restart X? Any pre-existing X configuration file will be backed up(Answer: Yes)
- 最後回到x windows會看到一個Nvida的畫面,這樣就代表安裝好了
- sudo /etc/init.d/gdm start

沒有留言:
張貼留言